Nody, UI Flow and the Flow Graph
Nody
…is a visual flow graph solution designed to create, visualize and manage UI navigation flows.
For example, in a project (app/game) we may want to go from the Main Menu to a Settings menu and back. That is a UI flow and every UI has one.
To manage a UI, we need some nodes and a Flow Graph to contain them. From the way the nodes are connected inside a Flow Graph, a UI flow emerges.
Most graphs go in one direction, either from left to right or from top to bottom. With an UI flow that is not the case because it needs to go back as well. Nody does exactly that (and more), as it provides the necessary tools (nodes) and infrastructure (graphs) to manipulate and manage UI flows.
By taking a visual approach in designing UI flows, complex UI structures can be managed without the need of writing complex and hard to debug code.
a UI flow is defined by nodes in the way they are connected
a node defines a state the UI can be in
a Flow Graph is a container for nodes, and since two or more nodes define a UI flow, we can say that a Flow Graph contains a UI flow
a Flow Graph is as a container of data points
a Node is a data point
a UI flow is what the data points define
UI Flow
To start creating our first UI flow, we need to create a Flow Graph. Since a Flow Graph is a ScriptableObject, inside our project, we need to go to the Project view and select a where we want to create our asset file.
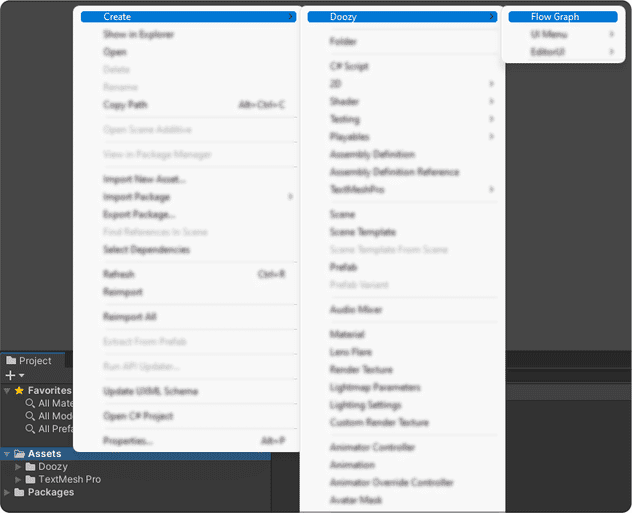
We will use the Project view context menu to create a new Flow Graph asset. Right click the ‘Assets’ folder and select ‘Create > Doozy > Flow Graph’.

Newly created Flow Graph asset file can be found in the ‘Assets’ folder
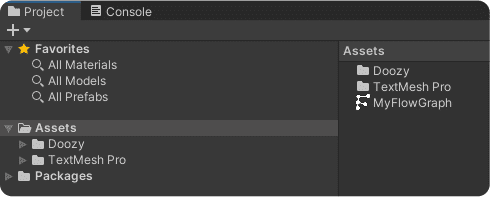
Rename the new Flow Graph to ‘MyFlowGraph’
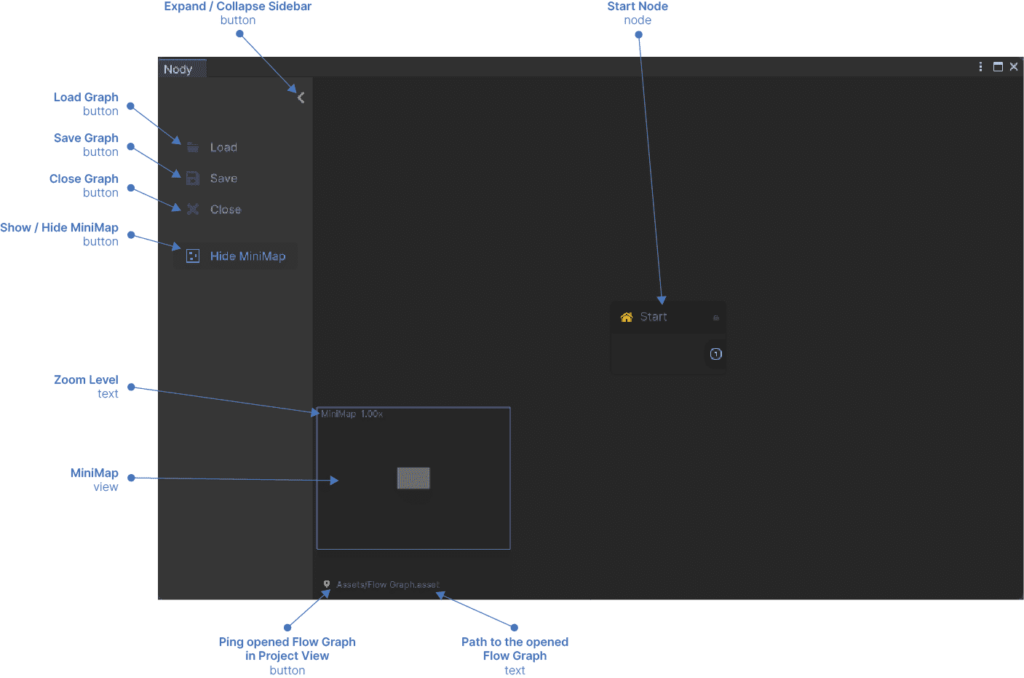
Open Nody
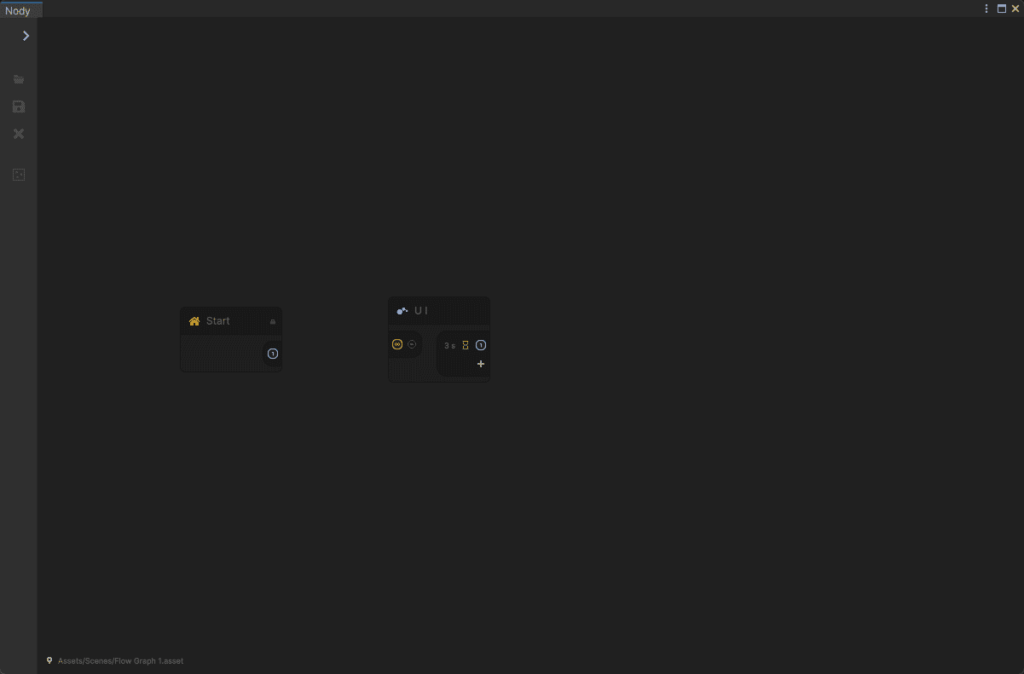
Double click the graph and it will be loaded in the Nody window.
Create a node
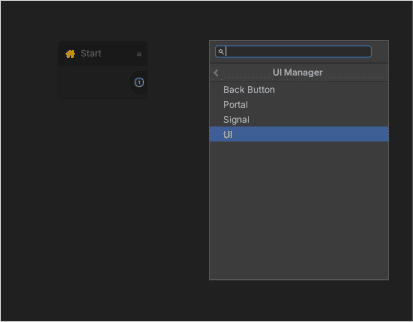
Let’s create our first node and to do that simply right click the graph and select Create Node OR press the Spacebar twice, then select UI Manager category and click on UI node.
Create another node
Repeat the previous step and create a second UI node

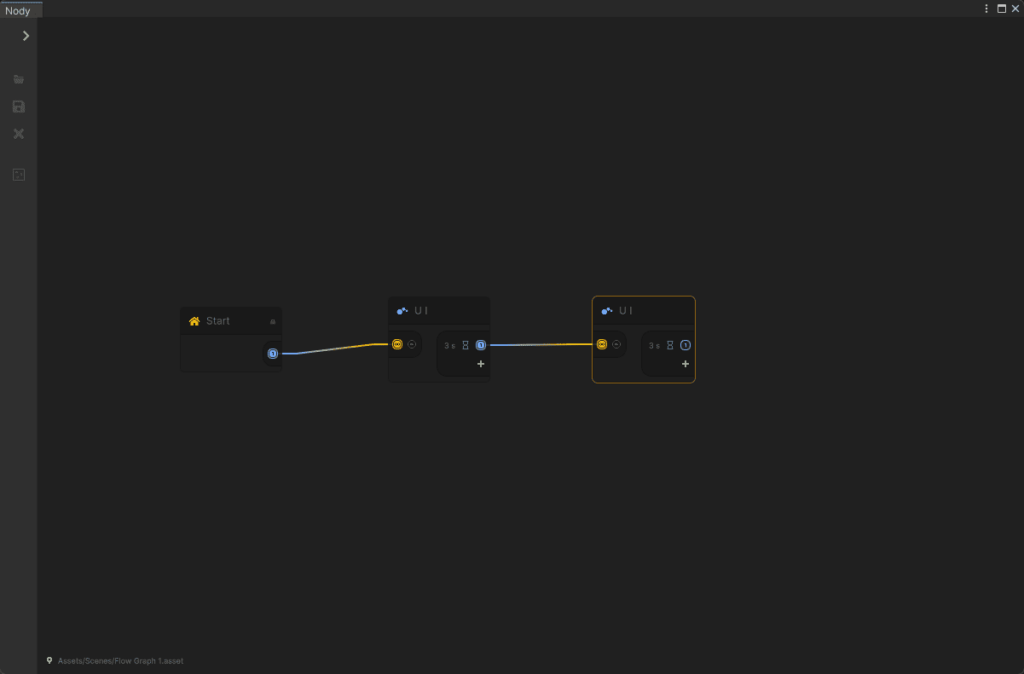
Connect the nodes
Connect the nodes and we’ll have our first UI flow.